
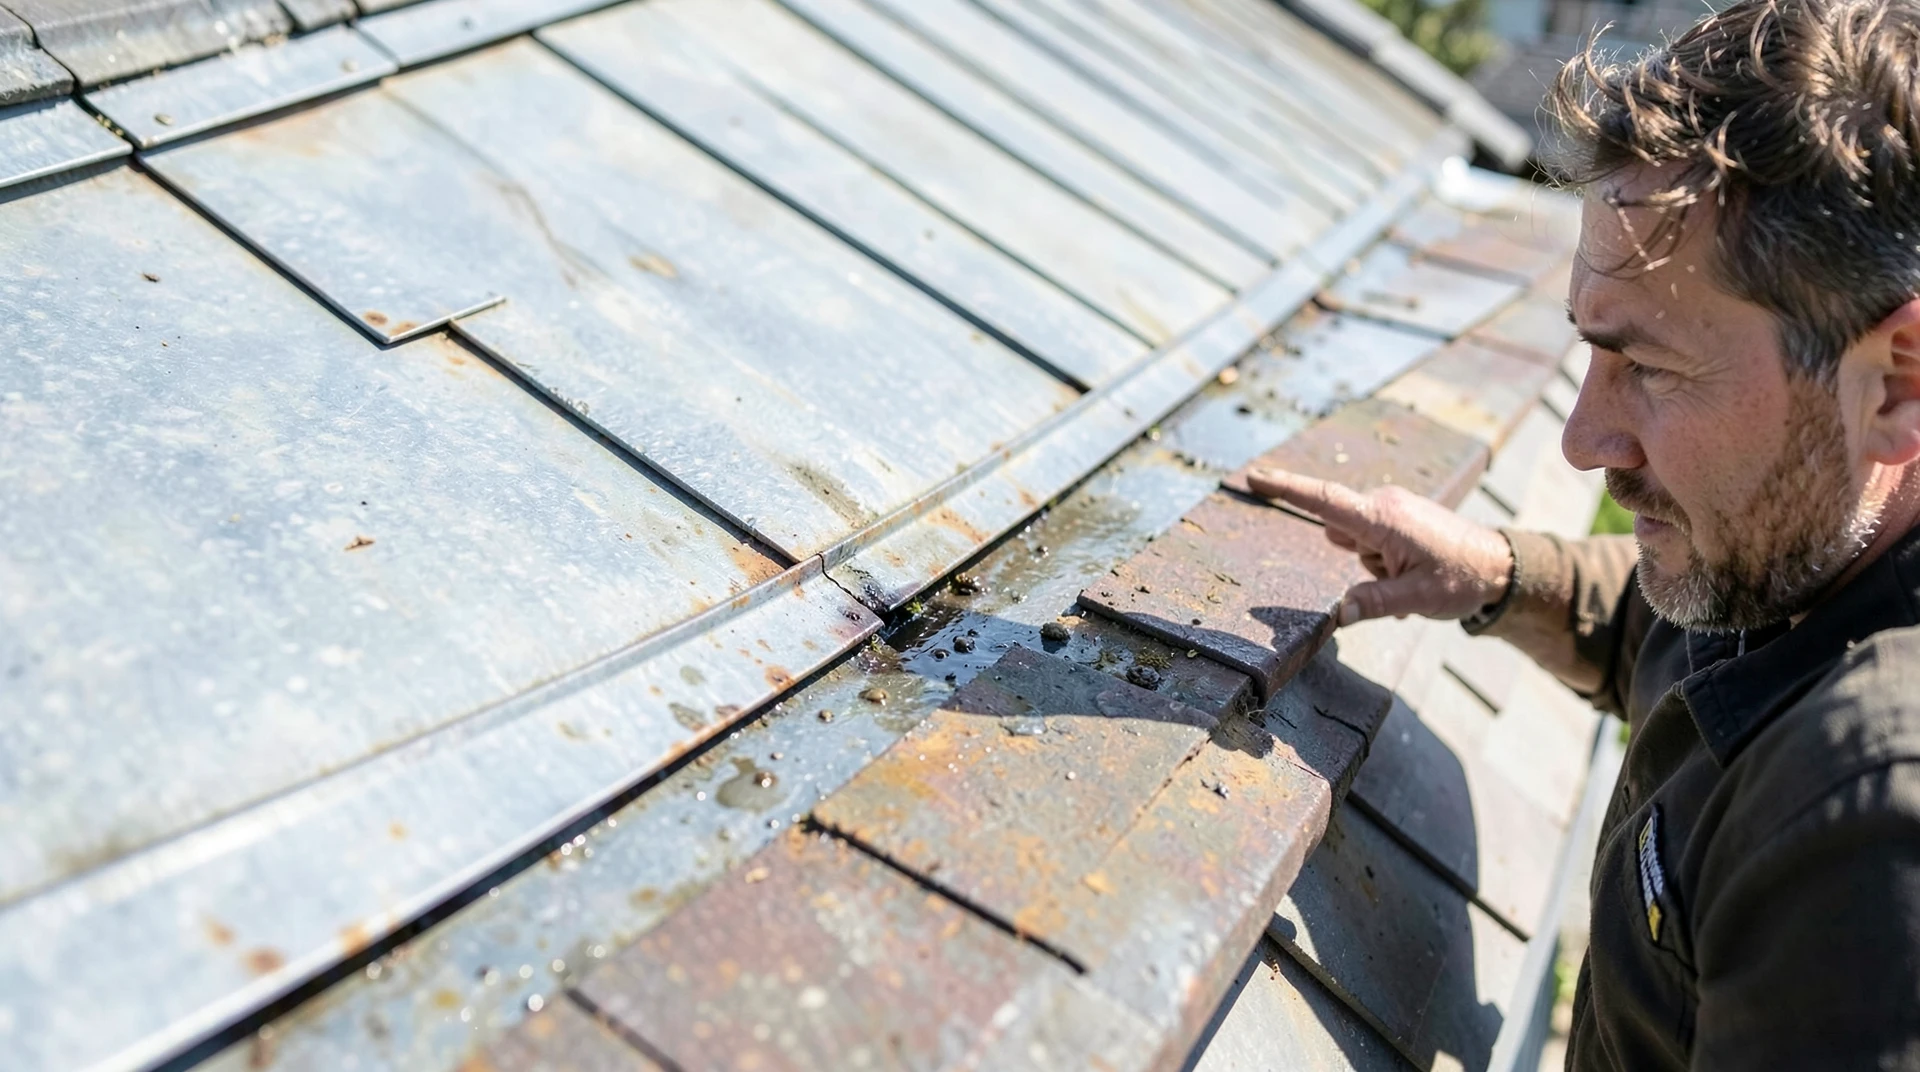
How to Waterproof Around a Flashing Roof Leak? Understanding True Structural Repair
If you’ve seen water staining on your ceiling or noticed damp patches appearing near any metal seam on your roof, your immediate thought is likely: How do I fix this? Finding the source of a leak can be stressful enough, but when that leak happens around flashing-the critical joints where different materials meet-it often feels overwhelming. You might find quick fixes online, suggesting a simple caulk gun and some patience. But here’s a crucial insight, one I've learned over two decades working on historic properties across Lakewood: the biggest mistake homeowners make is waiting until they see visible damage before calling a professional for an inspection.
We proudly serve serving the Oak Lawn community and the surrounding area.
Flashing leaks are far more complex than surface seepage; they signal structural movement or material degradation beneath the surface. Before we even discuss the technical solutions to how to waterproof around a flashing roof leak?, it’s vital that you understand that this issue is not merely cosmetic-it's about preserving the integrity and, ultimately, the value of your family home. We treat every roof like it's over our own family house right here in Lakewood, whether we are talking classic tile work in Oak Lawn or modern metal seams in Cedar Crest.
It's More Than Just a Patch: Understanding Flashing Leaks in Historic Texas Homes
When water finds a way into your home through a flashing joint, it rarely takes the most direct path. The visible leak is often just the last stop on a long journey that started much earlier, potentially weeks or months ago, deep within the roof structure. To truly understand the repair process, we first need to define what flashing actually does and why its failure is such a high-risk event.
Learn more about the team at Rock Line Roofing.
Flashing is not simply an accessory; it is the structural water barrier of your roof system. It comprises metal or specialized materials placed precisely at transitions-where a chimney meets the roof plane, where a wall rises, or where two different roofing sections intersect. Its entire purpose is to redirect and shed water so that it never penetrates the joint itself. When this material degrades, shifts, or was installed incorrectly, you create an immediate vulnerability that gravity will exploit.
Many homeowners are tempted by simple solutions. They might spot-plug a drip with high-grade caulk or apply a liquid sealant over the visible seam. While these products can offer temporary water diversion, they fundamentally fail to address the root cause of the leak. Flashing joints are constantly subjected to immense stress: differential expansion and contraction caused by temperature shifts (a hot Texas summer versus a cool autumn night), subtle foundation settling, and the movement inherent in different materials placed next to each other-like copper meeting slate tile.
A homeowner I worked with recently, whose property was in the vicinity of Knox-Henderson, had visible staining around an old chimney flashing. He thought a quality sealant would solve it. We found that while the patch stopped immediate dripping, the underlying issue was degraded underlayment and corrosion on the copper flashing itself. The lesson here is clear: visible water is often just the symptom. A professional diagnosis must determine why the joint failed-was it material failure, movement, or poor installation? This diagnostic step dictates whether a simple sealant application will work, or if we need to perform a major component replacement.
The Hidden Dynamics: Why Flashing Leaks Are So Difficult to Waterproof
If you are asking yourself, "Why is fixing this so complicated?" the answer lies in the hidden physics and material science of roofing. It’s rarely a single tear; it's a confluence of environmental forces acting on multiple materials simultaneously. Understanding these dynamics is key to knowing how to waterproof around a flashing roof leak? effectively.
The root causes are varied, but they generally fall into three categories:
- Differential Movement: No two roofing materials expand and contract at the same rate. Slate tiles have different thermal expansion coefficients than metal seams or asphalt underlayment. This constant, subtle pulling apart and pushing together places incredible stress on the joints-the very points flashing is meant to protect.
- Material Degradation: Over decades, metals like galvanized steel can corrode (rust), and even copper-if not properly installed-can suffer from galvanic reactions with adjacent materials. This degradation weakens the barrier material itself.
- Structural Shifts: Earth settling over time causes the entire structure to move minutely. If a flashing joint wasn't designed to accommodate that movement, it will fail, regardless of how new the initial installation was.
To counteract these forces, professional roofing utilizes specialized techniques you may not be familiar with. One critical method is counter-flashing. When we perform a repair, simply applying a sealant over a compromised spot isn't enough; we often need to install an additional piece of flashing (the counter-flash) that directs water over the repaired joint, ensuring that gravity doesn't allow it to seep under it.
Furthermore, experienced professionals must look beneath the visible surface. Solving this issue requires examining the underlayment and decking materials supporting the flashings. If the underlying plywood or deck is compromised by moisture-or if the original waterproofing layer has deteriorated-any flashing repair will eventually fail because the support structure itself is failing. A truly thorough assessment must include a check of the entire structural envelope, not just the metal seams.
DIY vs. Deep Repair: When Patching Isn't Enough
The temptation to tackle a roof leak yourself, especially when facing an immediate problem like how to waterproof around a flashing roof leak?, is understandable. However, in affluent neighborhoods like ours-where architectural preservation and structural integrity are paramount-attempting advanced waterproofing can be dangerous and ineffective.
There are two major risks associated with DIY roofing repairs: the violation of local codes or HOA covenants, and the risk of introducing materials that aren't designed for the specific movement patterns of your roof system. Furthermore, applying an incorrect sealant type (for example, using a standard caulk on structural metal) can actually accelerate corrosion rather than preventing it.
The financial cost of delay is often far higher than the cost of the repair itself. When water enters through flashing joints, it doesn't just drip; it initiates secondary damage. This includes:
- Mold and Mildew: Rapid growth in damp decking or attic spaces.
- Wood Rot: The structural deterioration of plywood or rafters supporting the roof.
- Interior Damage: Staining that requires expensive drywall replacement on ceilings and walls.
When we assess a leak, we are not just fixing the flashing; we are mitigating these secondary damages. A proper professional repair often involves meticulously removing sections of surrounding roofing materials to gain full access-this is necessary because you cannot guarantee a seal around a joint if you can't inspect every inch of material immediately adjacent to it.
When discussing flashing replacement cost Lakewood TX, the price reflects this comprehensive scope: not just the copper flashing itself, but the labor required for removal, structural prep work (like replacing saturated decking), and specialized application of elastomeric or polyurethane sealants designed to flex with temperature changes. Our goal is always a durable solution that restores integrity completely.
Beyond the Leak: Comprehensive Roof Care and Lifetime Protection
Viewing your roof as merely a protective covering is a limited perspective. A high-quality roof system, especially one in an established community like Lakewood, should be viewed through the lens of stewardship-it's protecting the entire neighborhood’s value. This shifts our focus from reactive "leak repair" to proactive maintenance and longevity planning.
The best way to manage a potential flashing leak is preventative inspection. We recommend professional roof inspections not just after heavy storms, but routinely (at least every 3-5 years), especially if you notice any changes in the surrounding drainage patterns or structural elements. These annual checkups are your insurance against catastrophic failure. They allow us to catch micro-developments-like a hairline crack developing on flashing that hasn't yet resulted in a visible drip-when the repair is minimal and affordable.
It’s important for homeowners to recognize when a persistent, recurring leak at a flashing point isn't just a sealant issue but a sign that the entire roof system has reached its natural end-of-life limit. If you are repeatedly having to do major repairs on the same section of flashing over several years, it signals that the underlying underlayment and perhaps even the structural decking material are fatigued. At this point, we need to pivot from mere repair toward full replacement.
When considering longevity, premium materials make a significant difference. For example, standing seam metal roofs or specialized slate/tile systems offer vastly superior water management compared to standard asphalt. While these may have a higher upfront cost, their lifespan and minimal maintenance needs often provide far greater long-term value-a key consideration for maintaining the aesthetic appeal of historic Lakewood properties.
Next Steps: Securing a Reliable Assessment of Your Roof's Integrity

When dealing with something as critical as your roof’s structural integrity, you need more than just good intentions; you need local expertise and unwavering dependability. The process must be meticulous from start to finish.
We urge homeowners not to rely on generalized advice or single-point fixes found online when seeking answers to how to waterproof around a flashing roof leak? Instead, the first step is scheduling a detailed assessment with licensed professionals who understand the unique architectural nuances of your neighborhood. We are trained specifically for Lakewood’s diverse styles-from historic tile work that requires delicate handling to modern metal roofing systems requiring precise seam management.
What does an expert assessment look like? It's far more than just looking up at the roof. Our professional roof inspection checklist includes:
- Inspecting every flashing joint (chimneys, valleys, wall transitions).
- Assessing the pitch and surrounding drainage paths to ensure water is channeled correctly.
- Checking for signs of underlayment deterioration or decking moisture damage beneath the visible surface.
- Identifying potential points of stress due to settling foundation shifts.
Transparency is paramount. We believe a solid quote must be completely open. Before any work begins, we will provide an itemized report that clearly specifies exactly what materials (copper flashing, elastomeric sealant), permits, and labor hours are included. This eliminates the anxiety of hidden fees or being sold on unnecessary upgrades-our goal is to restore lasting peace of mind, not inflate a bill.
If you notice any signs of water intrusion, don't wait until the leak becomes an emergency. Contact us today for an assessment that treats your home with the care and meticulous attention it deserves. We are here to help protect your family’s most valuable asset-your home-with local stewardship and dependable expertise.